Windows PowerShell is a command-line shell and scripting language designed especially for system administration. It’s analogue in Linux is called as Bash Scripting. Built on the .NET Framework, Windows PowerShell helps IT professionals to control and automate the administration of the Windows operating system and applications that run on Windows Server environment.
Windows PowerShell commands, called cmdlets, let you manage the computers from the command line. Windows PowerShell providers let you access data stores, such as the Registry and Certificate Store, as easily as you access the file system.
In addition, Windows PowerShell has a rich expression parser and a fully developed scripting language. So in simple words you can complete all the tasks that you do with GUI and much more.
PowerShell Icon can be found in the task bar and in the start menu. Just by clicking on the icon, it will open.
To open it, just click on the icon and then the following screen will open and it means that PowerShell is ready for you to work on.
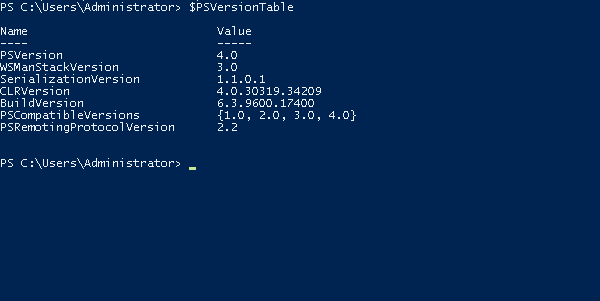
The latest version of PowerShell is 5.0 and to check what is installed in our server we type the following command – :$PSVersionTable as shown in the following screenshot and from the screen we also know that we have PSVersion 4.0
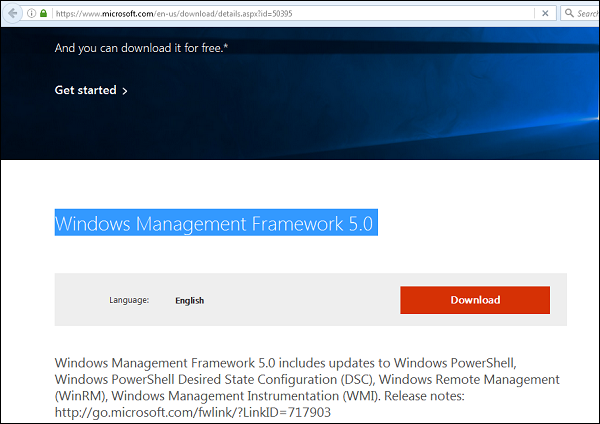
To update with the latest version where it has more Cmdlets we have to download Windows Management Framework 5.0 from the following link − https://www.microsoft.com/en-us/download/details.aspx?id=50395 and install it.
PowerShell ISE
The Windows PowerShell Integrated Scripting Environment (ISE) is a host application for Windows PowerShell. In Windows PowerShell ISE, you can run commands and write, test, and debug scripts in a single Windows-based graphic user interface with multiline editing, tab completion, syntax coloring, selective execution, context-sensitive help, and support for right-to-left languages.
You can use menu items and keyboard shortcuts to perform many of the same tasks that you would perform in the Windows PowerShell console. For example, when you debug a script in the Windows PowerShell ISE, to set a line breakpoint in a script, right-click the line of code, and then click Toggle Breakpoint.
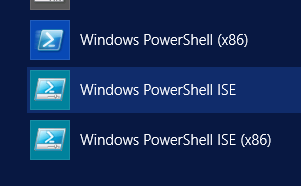
To open it you just go to Start – Search and then Type – PowerShell as shown in the following screenshot.

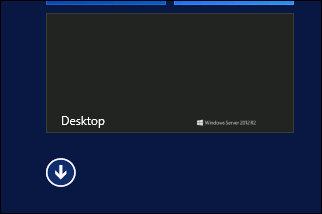
Then click on Windows PowerShell ISE. Or click on the downward Arrow as shown in the following screenshot.
It will list all the applications installed on the server and then click on Windows PowerShell ISE.
The following table will be open −
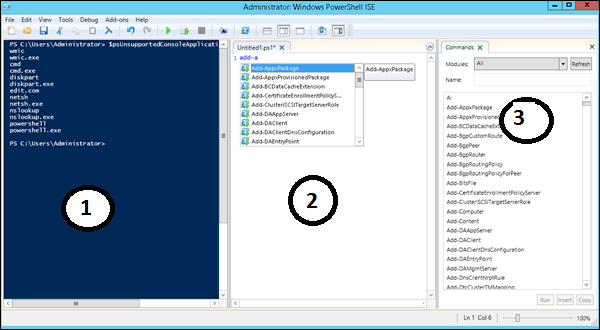
It has three sections, which include – The PowerShell Console with number 1, then Scripting File number 2 and the third is the Command Module where you can find the module.
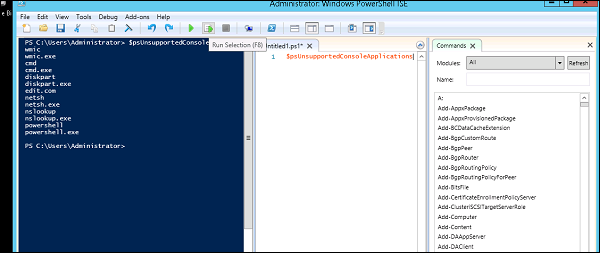
While creating the script you can run directly and see the result like the following example −
PowerShell Basic Commands
There are a lot of PowerShell commands and it is very difficult to put in all these commands in this tutorial, we will focus on some of the most important as well as basic commands of PowerShell.
The first step is to go to the Get-Help command which gives you an explanation about how to give a command and its parameter.

To get the list of Updates −
- Get-HotFix and to install a hot fix as follows
- Get-HotFix -id kb2741530
Comments
Post a Comment