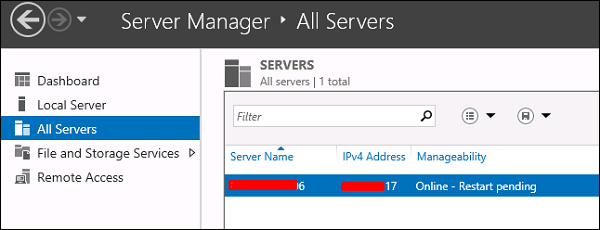
Another important service for Windows Server is Sharing Files and for this purpose the Windows Server 2012 has – File and Storage Services, which is found in Server Manager on the left pane as shown in the screenshot given below.
Now let us see how to create a Share in the system with its respective rights. To do this, we should follow the steps given below.
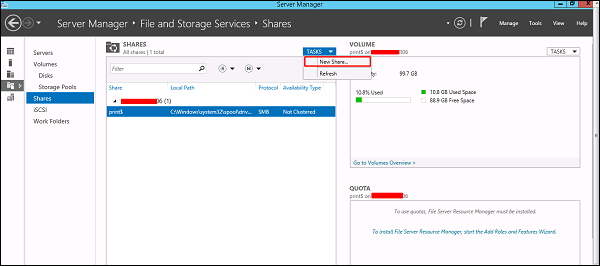
Step 1 − Click Server Manager → then click on File and Storage Services in the Server Manager sidebar → click on Shares → click on the Shares drop-down list → click on New Share.
Step 2 − This will open the New Share Wizard → From here, select a type of share → I will create a very basic SMB share, so click on SMB Share – Quick. We can later configure the user rights of this share.

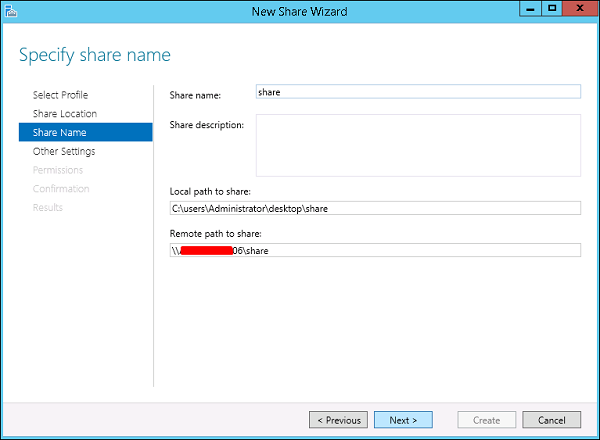
Step 3 − Click “Type a custom path” → click on Browse button.

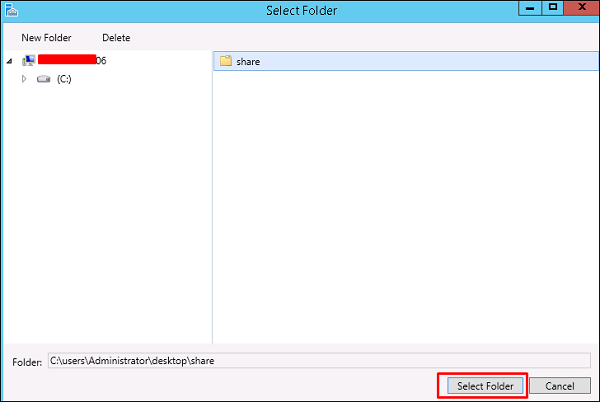
Step 4 − Select the folder that you want to share → Click Select Folder.
Step 5 − Click Next.
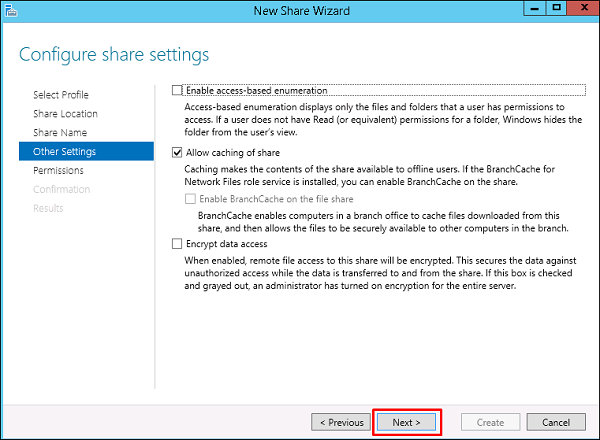
Step 6 − You can choose one of the three options as per your need. The explanations are also mentioned alongside the check boxes, once selected → Next.
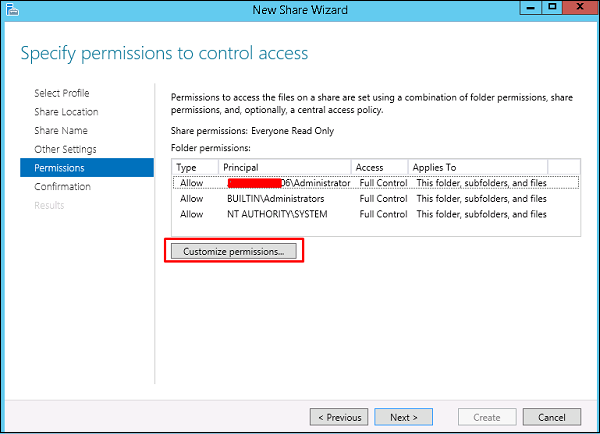
Step 7 − Click on Customize Permissions to authorize the rights that your users need to have.
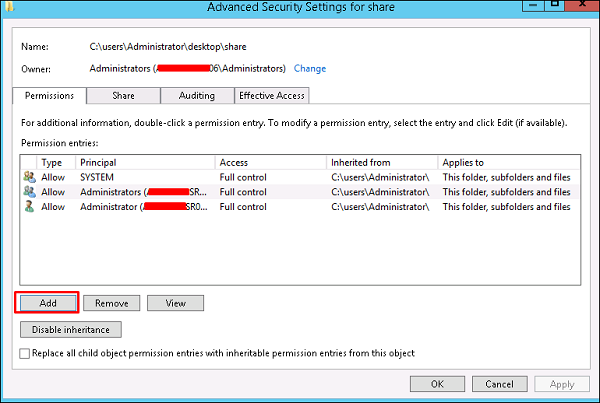
Step 8 − Click on Add if you would like to add other users.
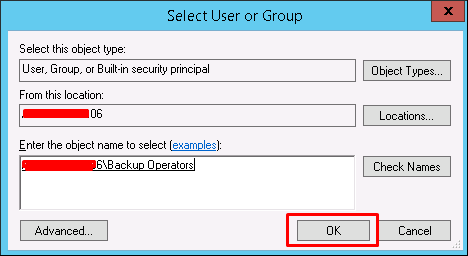
Step 9 − Click on Select a principal.
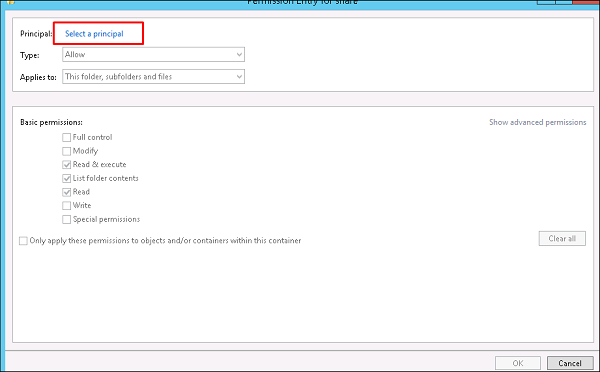
Step 10 − We should give rights that can be done by entering the object name, which is Backup Operator in this case and then → OK.
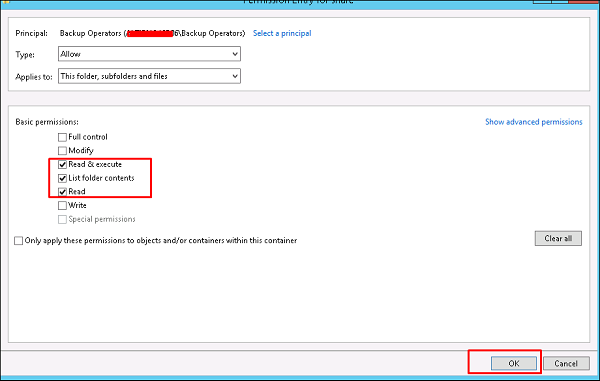
Step 11 − To this user we will give Read\Write rights, for that we will check the respective boxes and then → OK → OK → Next.
Step 12 − Click on Create.
Comments
Post a Comment