In this chapter, we will install and configure Backup which does not differ too much from the previous versions.
To Install the backup feature, we should follow the steps given below.
Step 1 − Go to Server Manager → Manage → Add Roles and Features → Next → Check the Role-based or feature-based installation box → then check on the Select a server from the server pool box and then click Next.
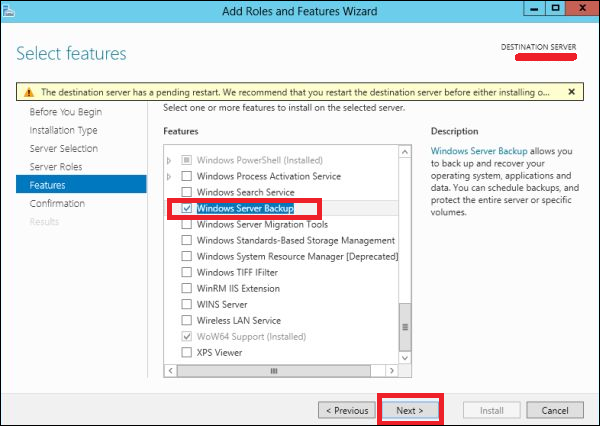
Once all this is done, check the Windows Backup Server box and then click on Next as shown in the following screenshot.
Windows Backup Server
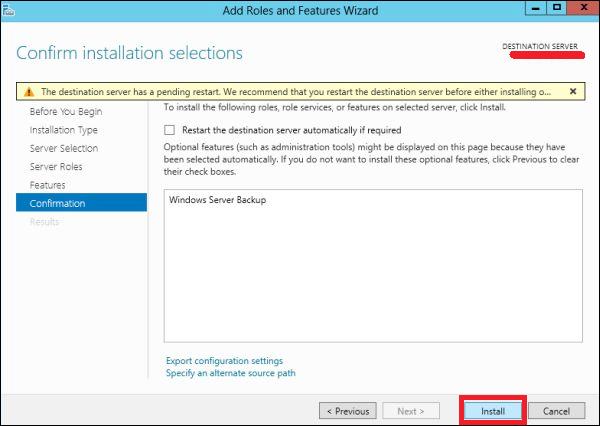
Step 2 − Click Install and then wait for the process to Finish.
Click Install Wait
Now let us go and Configure the Backup Feature it, for which we should follow the steps given below.
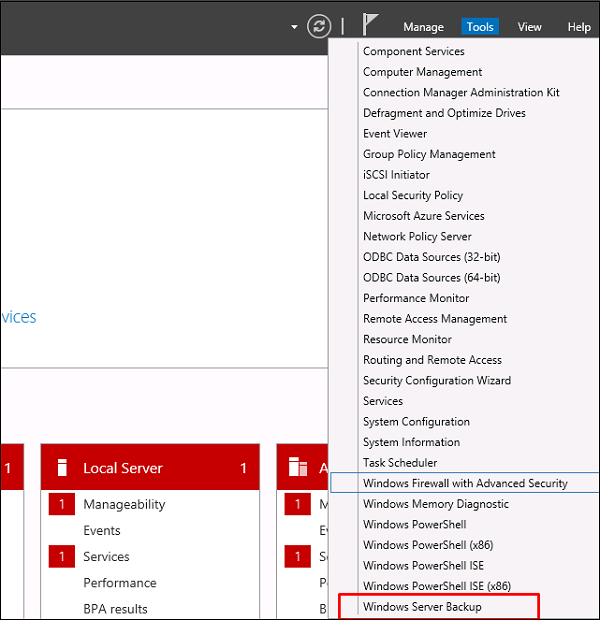
Step 1 − Go to Server Manager → Tools → Windows Server Backup.
Server Backup
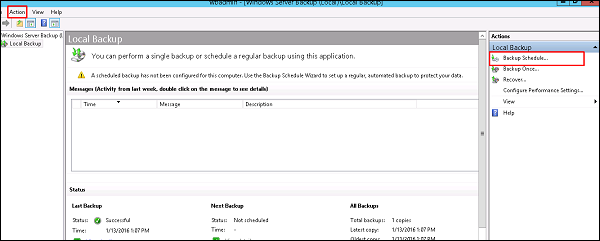
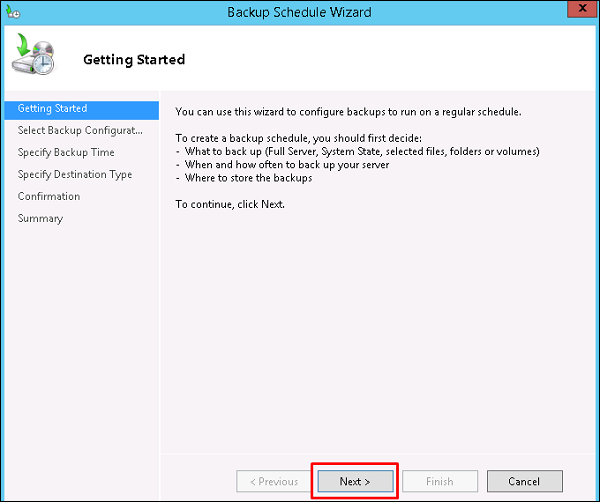
Step 2 − Click on Backup Schedule… in the left side panel or click on Action at the top of the screen as shown in the following screenshot.
Backup Schedule
Step 3 − Click Next.
Getting Started
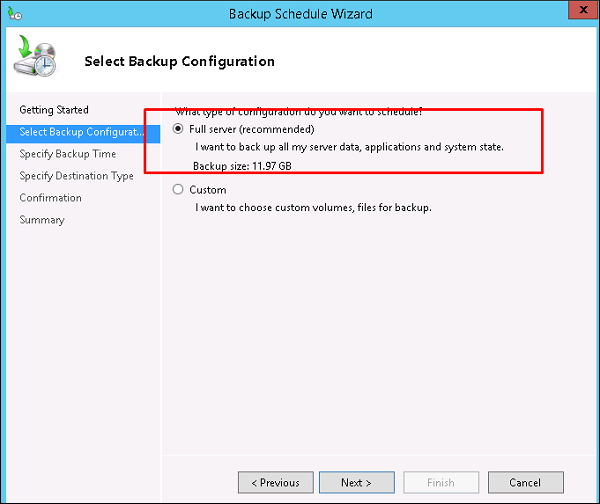
Step 4 − If you want to backup a file or a folder, you can click on custom file, but in this case I want to do a full backup of the server. So, we should click on the first option Full server (recommended) and then click Next.
Full Server
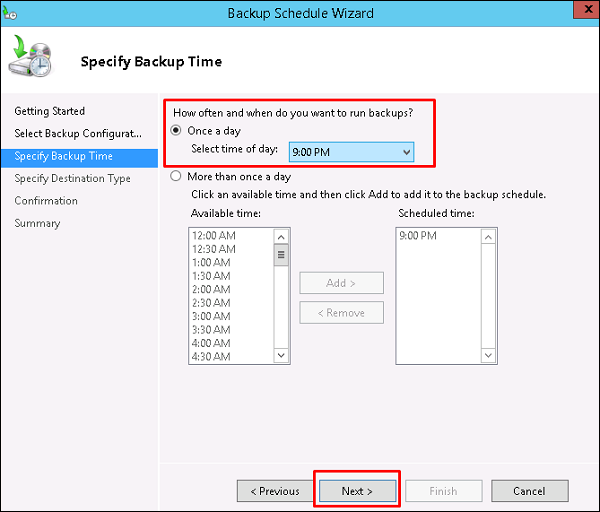
Step 5 − We should do backup once in a day, so we will choose the first option and the appropriate time, which generally is recommended at night → Next.
Backup
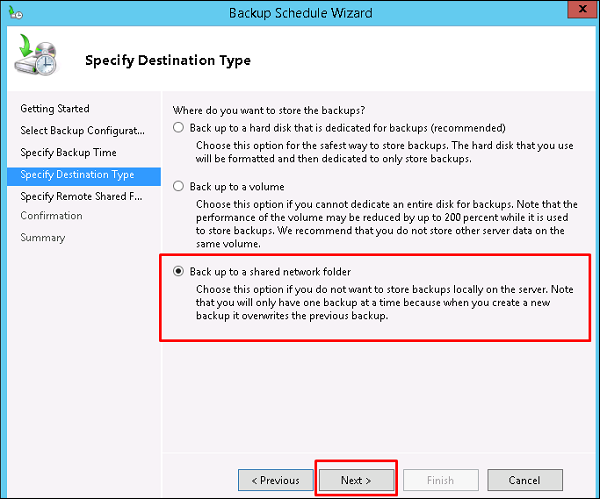
Step 6 − We should not click on the Back Up to a shared network folder option because the backup should be saved somewhere out of the server that is being backed up and then click on Next.
Shared Network
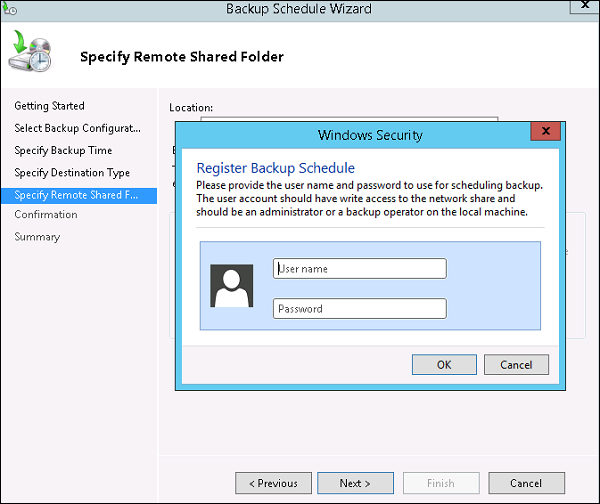
Step 7 − At the location, put the shared folder path and then → Next.
Folder Path
Step 8 − It will pop-up a credentials table asking you for the username and password of the shared folder which you should put here and then click → OK.
Credentials
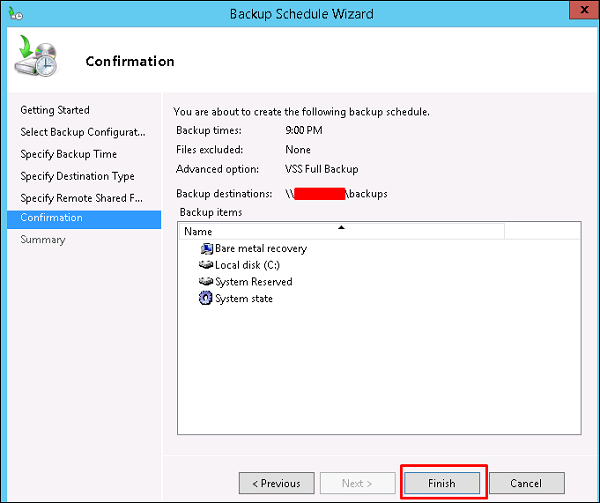
Step 9 − Click the Finish button.
Confirmation Finished
Step 10 − Now you will get a window showing the status if the backup was created successfully or not, which can be seen in the following screenshot.

Comments

Popular posts from this blog

The Windows Firewall with Advanced Security is a firewall that runs on the Windows Server 2012 and is turned on by default. The Firewall settings within Windows Server 2012 are managed from within the  Windows Firewall Microsoft Management Console . To set Firewall settings perform the following steps − Step 1  − Click on the Server Manager from the task bar → Click the Tools menu and select Windows Firewall with Advanced Security. Step 2  − To see the current configuration settings by selecting  Windows Firewall Properties  from the MMC. This  allows access to modify the settings  for each of the three firewall profiles, which are –  Domain, Private and Public  and IPsec settings. Step 3  − Applying custom rules, which will include the following two steps − Select either  Inbound Rules  or  Outbound Rules  under  Windows Firewall with Advanced Security  on the left side of the management console...
The table creation command requires: Name of the table Names of fields Definitions for each field Syntax: Here is generic SQL syntax to create a MySQL table: CREATE TABLE table_name ( column_name column_type ); Now, we will create following table in  TUTORIALS  database. tutorials_tbl ( tutorial_id INT NOT NULL AUTO_INCREMENT , tutorial_title VARCHAR ( 100 ) NOT NULL , tutorial_author VARCHAR ( 40 ) NOT NULL , submission_date DATE , PRIMARY KEY ( tutorial_id ) ); Here few items need explanation: Field Attribute  NOT NULL  is being used because we do not want this field to be NULL. So if user will try to create a record with NULL value, then MySQL will raise an error. Field Attribute  AUTO_INCREMENT  tells MySQL to go ahead and add the next available number to the id field. Keyword  PRIMARY KEY  is used to define a column as primary key. You can use multiple columns separated by comma to define...
In this chapter, we will see how to Install Active Directory in Windows Server 2012 R2. Many of us who have worked with the previous version run  DCPROMO.EXE  to install it, but in the 2012 version, it is recommended by Microsoft not to use it anymore. To continue with Installation follow the steps given below. Step 1  − Go to “Server Manager” → Manage → Add Roles and Feature. Step 2  − Click the Next button. Step 3  − As we are installing AAD on this machine, we will select “Role-based or featurebased Installation” → Next. Step 4  − Click on “Select a server from the server pool”, this is the case when it will be installed locally. Step 5  − Check mark in the box next to  Active Directory Domain Services . A box will be explaining additional roles services or features which are also required to install domain services. Step 6  − Click Add Features. Step 7  − Check “Group Policy Management” → Next. Step 8  ...