In this chapter, we will discuss regarding the requirements and prerequisites of the Windows Server 2012.
System Requirements
Although most of the servers nowadays probably have the necessary requirements for Windows Server 2012. It will certainly be useful to know them in case you want to upgrade from an older system.
The main requirements are −
- CPU socket minimum 1.4 GHz (64-bit processor) or faster for single core and Microsoft recommends is 3.1 GHz (64-bit processor) or faster multi-core.
- RAM memory minimum is 2GB, but Microsoft recommends 8GB.
- 160 GB hard disk with a 60 GB system partition space in your hard disk.
One important thing to note here is that the installation process itself will verify your computer hardware and let you know if it qualifies for a Windows Server 2012 installation. If not, then you will need to upgrade your hardware.
Installation
The following steps are to be adhered for the installation of Windows Server 2012.
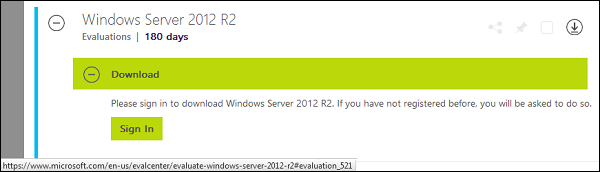
Step 1 − We can download the evaluation ISO of Windows Server 2012 R2 from the following link − https://www.microsoft.com/en-us/evalcenter/evaluate-windows-server-2012-r2
But you will need to sign in first with a Microsoft account like Hotmail for example in order to complete the download and the good thing is that the evaluation period will last for 180 days, so you will have enough time to know if it will be the right product for you or not.
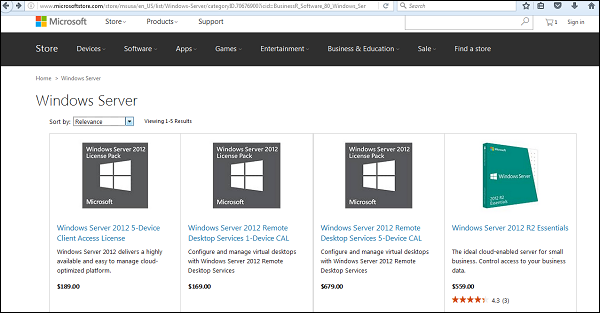
At the end, if you decide to buy the license of your Windows server 2012 R2. You can purchase it online via a Microsoft online store found in − http://www.microsoftstore.com/store/msusa/en_US/list/Windows-Server/categoryID.70676900?icid=BusinessR_Software_80_Windows_Server_112315
For the Enterprise solution, I would recommend to purchase it via a Microsoft partner that is found in your country.
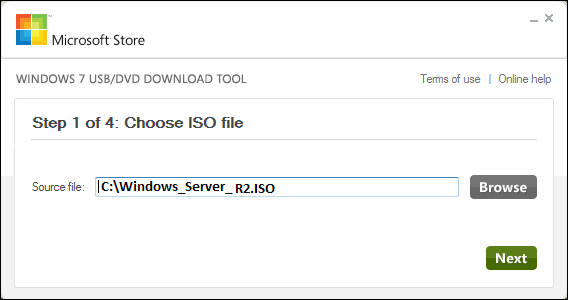
Step 2 − After downloading the ISO of Microsoft, create a boot USB driver which can be created with the Microsoft tool called Windows USB/DVD Download Tool and can be downloaded from the following link − https://www.microsoft.com/en-us/download/windows-usb-dvd-download-tool
After downloading the EXE file, open it and select the ISO file location and then click next like in the following screenshot, and wait up to the end when the Boot USB is created.
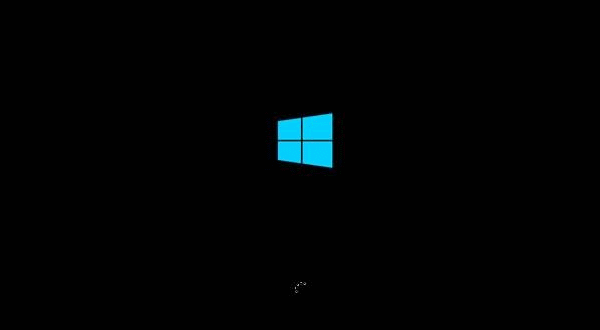
Step 3 − After completing the above given steps, plug-in the USB to the server and wait for a while till it loads the files. This will continue for about a couple of minutes as shown in the following screenshot.
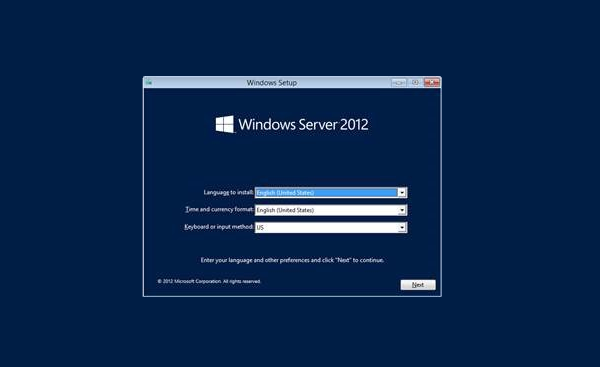
Step 4 − After the files are loaded, you will see the screen of language settings of installation, keyboard, time and currency format. Generally, all the default ones are also good enough to start with. Click Next.
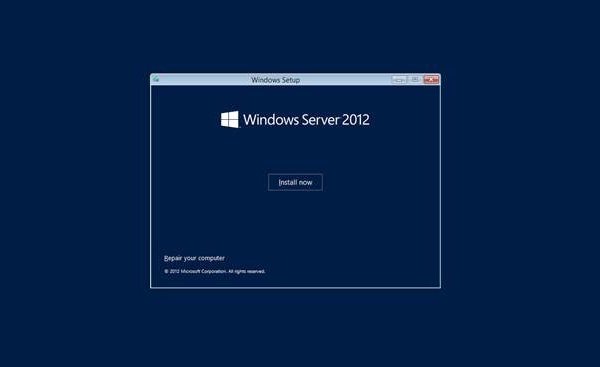
Step 5 − Click “Install now”.
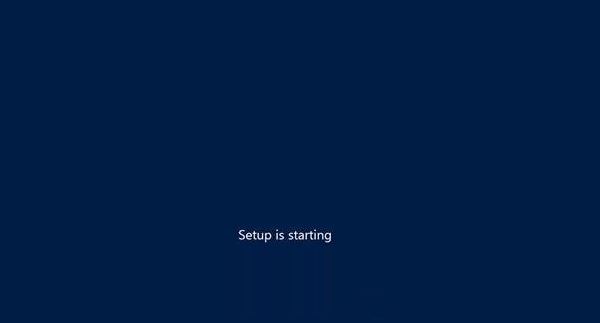
Step 6 − Once you have clicked on Install Now, the setup will start and it will load all the files and the screen will look as shown in the following screenshot.
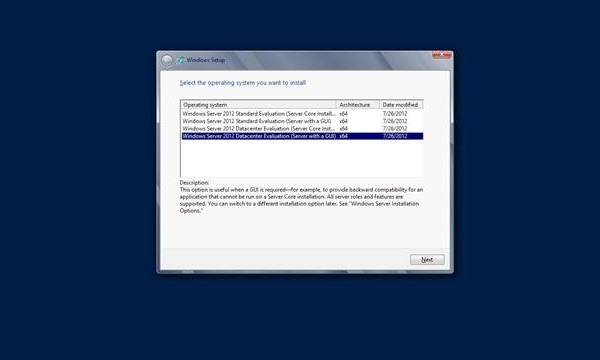
Step 7 − Wait until the files are loaded and then you will see the following screen. Let’s select Windows Server 2012 DataCenter Evaluation (Server with GUI) and click Next.
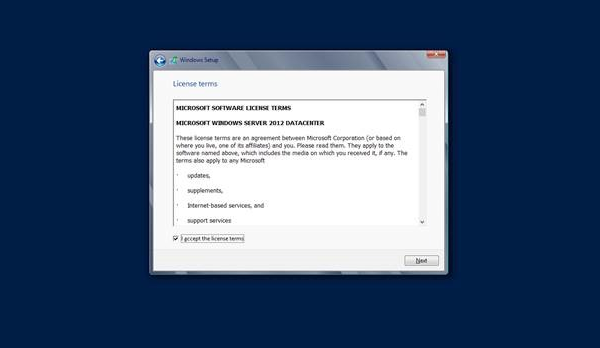
Step 8 − Click “I accept the license terms” and then click on the Next button as shown in the following screenshot.
Step 9 − The following screen will appear. In “Driver Options” you can create a new partition, delete or format the Hard disk. After you have done this process then you can select the partition where the Windows server 2012 R2 will be installed in our case we have one partition. Once all this is done, then click on Next.

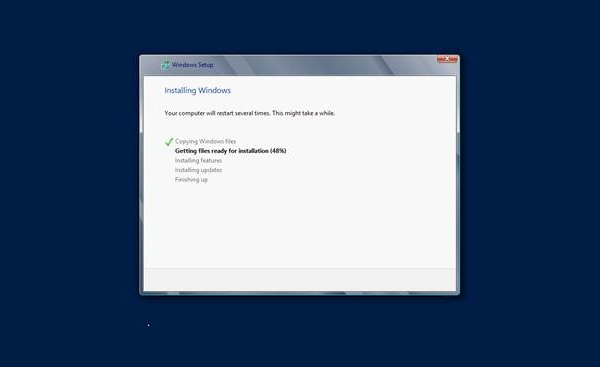
Step 10 − Let’s wait until this process finishes during this time and then the server will reboot.
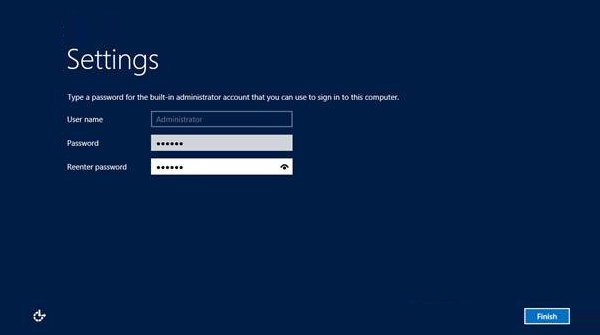
Step 11 − Once the reboot is done the following screen will appear. Set the password for the server and then click on “Finish”.
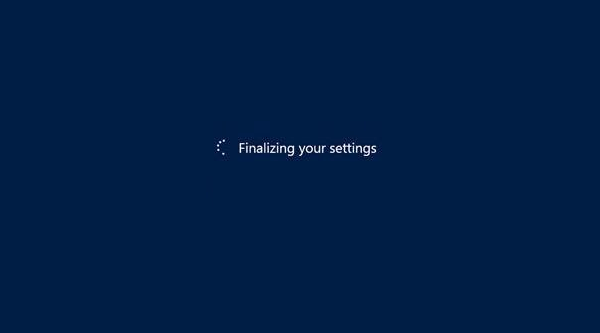
Step 12 − It will take some minutes until the setup finishes completely.
Step 13 − Once all this is done, you have completed the installation process and the following screen will appear.
Congratulations!!!
Comments
Post a Comment